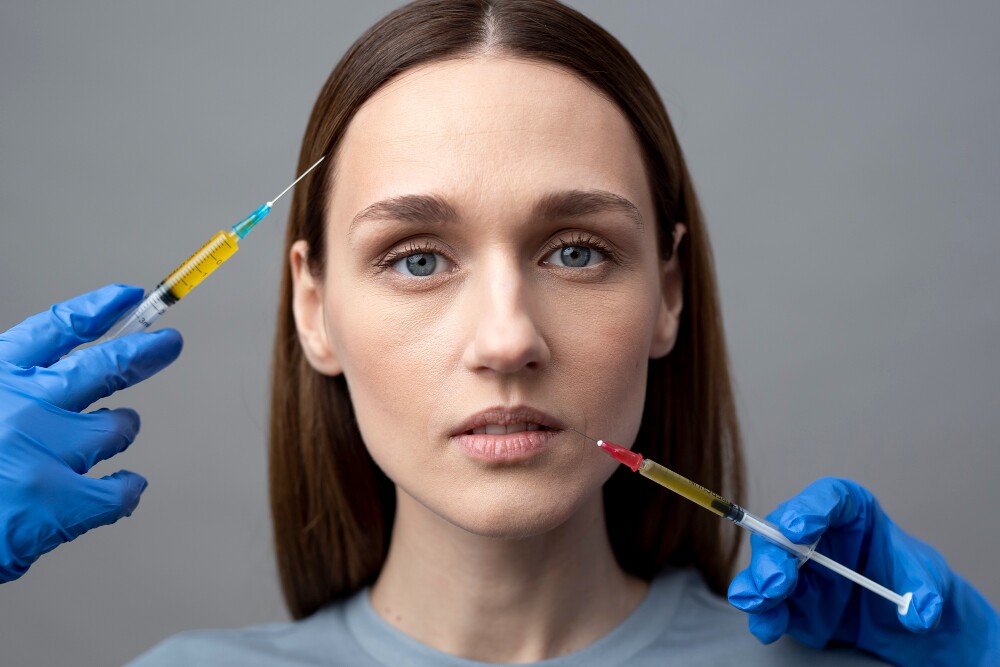
What To Do Before Getting Fillers

Lip fillers are a popular cosmetic treatment offering the allure of fuller, more defined lips. However, optimal results don’t just come from the injector’s skill—what you do before your appointment significantly influences your experience and outcome. Get ready for your perfect pout with this comprehensive pre-filler guide!
Understanding Your Goals and Choosing the Right Provider
- Define Your Goals: Before anything else, ask yourself why you want lip fillers. Are you looking to add volume, correct asymmetry, redefine your lip shape, or smooth fine lines? Visualizing your goals helps in your provider consultation.
- Inspiration is Key: Collect photos of lips you admire. This doesn’t mean replicating someone else’s features, but provides your injector with a reference point for the aesthetic you’re drawn to.
- Find a Reputable Injector: Lip fillers are a medical procedure, so proper credentials matter. Choose a licensed dermatologist, plastic surgeon, or a registered nurse injector with specialized training in facial aesthetics.
- Consultation is Crucial: Schedule a consultation with your chosen provider. Discuss your goals, medical history, potential allergies, and realistic expectations. A good injector will guide you on filler type, quantity, and whether fillers are right for you.
The Medical Checkup: Preparing Your Body
- Medication Disclosures: Tell your injector about all medications and supplements you take. Some can increase bruising and bleeding. Your injector will advise if adjustments are needed.
- Hydration Station: Up your water intake days before your appointment. Well-hydrated skin optimizes healing and helps your fillers settle beautifully.
- Blood Thinners – Proceed with Caution: If medically possible, your injector will likely ask you to stop blood-thinning medications (like aspirin, ibuprofen) and supplements (fish oil, vitamin E) about a week prior to minimize bruising.
- Arnica to the Rescue: Consider starting oral Arnica Montana supplements a few days beforehand. It’s a natural remedy believed to reduce bruising and swelling.
- Herpes Simplex Caution: If you have a history of cold sores (Herpes Simplex Virus), inform your injector. Fillers can sometimes trigger a flare-up, so your doctor may recommend preventative antiviral medication.
Skincare Do’s and Don’ts
- Exfoliation Vacation: Skip harsh scrubs, chemical exfoliants (retinoids, AHAs, BHAs), and in-clinic treatments like lasers and microdermabrasion for a week before your fillers. Your skin needs to be calm and intact.
- Moisturize & Protect: Use a gentle moisturizer and sunscreen diligently. Healthy, hydrated skin is a better canvas for fillers.
- Postpone Waxing & Plucking: Avoid waxing, tweezing, or hair removal around your lips for at least 24 hours pre-treatment to minimize irritation.
- Dealing with Breakouts: If you have an active pimple near the injection sites, it’s best to reschedule. Injecting into inflamed skin increases infection risk.
Lifestyle Adjustments: What to Avoid
- Alcohol Abstinence: Skip alcohol for at least 24-48 hours before your appointment. Alcohol is a blood thinner and increases bruising potential.
- Workout Break: Avoid strenuous exercise on the day of your treatment. Elevated blood pressure and heart rate can worsen bruising and swelling.
- Spice Sensitivity: Ditch extra spicy foods for a day or two before your fillers. These foods can dilate blood vessels and worsen inflammation.
- Say No to Smoking: Smoking hinders healing. If you’re a smoker, try to minimize it as much as possible pre and post-filler for optimal results.
On the Day of Your Appointment: Comfort and Preparation
- Fresh Face: Arrive with clean, makeup-free skin. Your injector will cleanse the area prior to the procedure, but a clean start is ideal.
- Topical Numbing: Your injector will likely offer topical numbing cream. Ask about this during your consultation, as it can greatly improve comfort.
- Fuel Yourself: Have a light meal beforehand. Treatments are quick, but you don’t want to get lightheaded on an empty stomach.
- Be Mentally Prepared: Minor discomfort is common. Knowing this helps manage expectations and allows you to relax during the process.
Common Pre-Filler Myths – Debunked!
- “Fillers Permanently Stretch My Lips”: False! Hyaluronic acid fillers dissolve naturally over time, and your lips return to their pre-filler size.
- “Prepping Doesn’t Matter”: False! Your pre-filler routine makes a difference in your bruising, swelling, and overall experience.
- “I Can Get Fillers While on My Period”: While technically possible, being on your period can make you more sensitive to pain and prone to bruising. If possible, schedule outside of your menstrual cycle.
- “Expensive Skincare Products are Necessary”: Not at all! Basic hydration and sun protection are more important than pricey pre-filler products.
Post-Filler Aftercare: Protecting Your Investment
A big part of ensuring great lip filler results is what you do AFTERWARDS. Your injector will provide specific instructions, but here’s a general overview:
- Ice, Ice, Baby: Apply ice packs or cold compresses intermittently to reduce swelling.
- Skip the Straw: Avoid pursing your lips too much; drink directly from a cup for the first day or so.
- Gentle is Best: Be gentle when cleansing your face. Avoid rubbing or exfoliating the treated area until healed.
- Saunas are a No-Go: Avoid extreme heat for a few days, as it can worsen swelling and prolong bruising.
- Listen to Your Injector: Follow all instructions on painkillers, antibiotics (if prescribed), and follow-up appointments.
Extra Considerations: Unique Needs, Special Cases
- Dental Work: If you have upcoming dental work, get your fillers done afterward or allow ample healing time before dental procedures.
- Vaccinations & Other Medical Procedures: Let your injector know about recent vaccinations or upcoming medical procedures.
- Pregnancy & Breastfeeding: Lip fillers are generally not recommended for pregnant or breastfeeding women due to a lack of safety data.
- Illness: If you feel unwell on the day of your treatment, it’s best to reschedule.
In-Depth Explorations
-
Filler Types & Their Influence on Prep: Create a detailed breakdown of different hyaluronic acid fillers (e.g., Juvederm, Restylane), their varying densities and properties, and how these choices might necessitate slight tweaking of the pre-filler preparation (e.g., a softer filler may require even gentler pre-treatment care to minimize bruising potential).
-
Pre-Filler Diet: Beyond the Basics: Offer a more comprehensive guide to foods and drinks to avoid pre-treatment, along with a meal plan highlighting ingredients that help minimize inflammation and promote healing (e.g., berries, leafy greens, fatty fish).
-
Pain Management Techniques: Include a section on natural pain management strategies. Explore breathing techniques, mindfulness, and safe over-the-counter pain relief options in consultation with your doctor. This is particularly beneficial for those with needle sensitivity or anxiety.
Specific Concerns & Conditions
-
Pre-Filler Prep for Bruise-Prone Individuals: Provide a specialized plan for those who bruise easily. Cover potential supplements (like Bromelain) and extra tips for minimizing bruising, in consultation with their doctor.
-
Fillers & Autoimmune Conditions: Lightly delve into the considerations for people with autoimmune conditions. Some conditions could affect healing or filler longevity and might necessitate extra consultation with both the injector and a primary physician.
-
Allergies & Fillers: Deepen the allergy discussion. Explain different allergens potentially present in fillers, the importance of patch testing, and what to do in case of an allergic reaction.
Visuals and Enhancements
-
Illustrated Guide: Include diagrams showing “no-go” areas around the lips pre-filler (waxing, plucking zones), along with correct icing techniques post-treatment.
-
Pre and Post Photo Series: With permission, feature before-and-after photos from the injector’s portfolio with a focus on how varying levels of bruising and swelling can look, setting realistic expectations for the healing process.
-
Expert Q&A: Interview your collaborating dermatologist or injector for a short Q&A section addressing questions readers might be hesitant to ask during a consultation.
Conclusion
Getting lip fillers is exciting but proper preparation is key for the best outcome and the most enjoyable experience. This guide lays the groundwork for success, empowering you through informed decisions, proactive steps, and realistic expectations. Now get ready for your most luscious lips yet!


